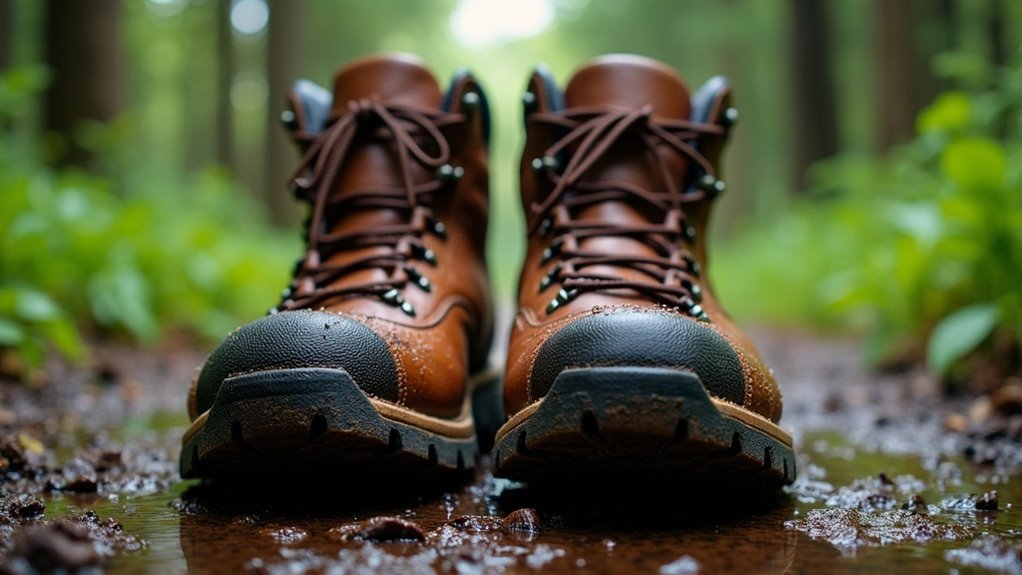
To waterproof your hiking boots for wet trails, start by cleaning them with a soft brush to remove dirt and debris. Then, choose a suitable waterproofing treatment like spray or wax. Apply it evenly, especially on seams. If desired, add a second coat for extra protection. Let your boots dry in a well-ventilated area, away from direct heat. Keeping up with regular treatments guarantees your boots stay waterproof. There’s more to uncover about maintaining your boots effectively.
Key Takeaways
- Clean boots thoroughly with a soft-bristled brush to remove dirt and debris before applying waterproofing treatments.
- Choose between waterproofing sprays for surface barrier or wax for deeper protection, depending on your boot material.
- Apply treatments evenly, focusing on seams and edges, and allow complete drying before using the boots.
- Reapply waterproofing every 2-3 months or after wet exposure to maintain effective moisture protection.
- Dry boots in a well-ventilated area, avoiding direct sunlight or heat, to preserve the materials and ensure longevity.
Materials Needed
To waterproof your hiking boots effectively, you’ll need a few essential materials. First, select a waterproofing treatment, like a spray or wax, tailored to your boots’ material.
You’ll also require a soft-bristled brush or cloth to clean your boots thoroughly, ensuring dirt doesn’t hinder the waterproofing agents’ adhesion. For deeper cleaning, warm water and mild soap can help remove stubborn grime.
Once clean, stuff your boots with newspaper or paper towels to keep them dry and maintain their shape during the drying process. This preparation is crucial in achieving ideal waterproofing results and ensuring your moisture-wicking linings stay protected.
Step 1: Clean Your Boots
Cleaning your boots is essential for effective waterproofing and prolonging their lifespan.
Start by using a soft-bristled brush or cloth to remove dirt and debris, paying special attention to seams and soles.
After cleaning, make sure to let your boots dry completely before applying any waterproofing treatments, as moisture can compromise their effectiveness.
Importance of Boot Cleaning
While many hikers overlook boot cleaning, it plays an essential role in maintaining the waterproofing effectiveness of your footwear.
Regularly cleaning your hiking boots guarantees contaminants don’t compromise effective waterproofing treatments.
Here are key reasons to prioritize boot cleaning:
- Removes dirt and debris that can hinder waterproofing.
- Allows for a thorough clean, enhancing boot performance.
- Prevents contaminants from blocking waterproofing agents.
- Extends the lifespan of your boots by avoiding premature wear.
Cleaning Techniques and Tools
Maintaining your hiking boots starts with effective cleaning techniques that guarantee their waterproofing remains intact.
Begin by using a soft-bristled brush or cloth for cleaning your boots, ensuring you remove all mud and dirt, especially from the soles. For deeper cleaning, mix warm water with mild soap to clean, but avoid soaking the boots to protect their materials.
Pay attention to seams and crevices where moisture can enter. Regular cleaning is essential; dirt buildup can degrade the waterproof membranes.
After cleaning, let your boots dry completely in a well-ventilated area before applying any waterproofing treatment.
Drying After Cleaning
Once you’ve finished cleaning your hiking boots, drying them properly is essential to maintain their waterproof integrity.
Follow these steps to guarantee your boots are clean and dry before applying any waterproofing treatment:
- Remove insoles and loosen laces to enhance airflow and prevent moisture trapping.
- Place the boots in a well-ventilated area, avoiding direct sunlight or heat sources that can warp materials.
- Stuff wet boots with newspaper to absorb moisture, replacing it periodically.
- Allow at least 24 hours for drying time to guarantee thorough moisture removal before treating your boots.
Step 2: Choose Your Waterproofing Method
Choosing the right waterproofing method for your hiking boots is essential to keep your feet dry and comfortable on the trail.
You can opt for waterproofing sprays or wax. Sprays create a surface barrier and are easy to apply, but wax penetrates the material for long-lasting protection.
When using sprays, apply evenly and let them dry completely. If you choose wax, focus on seams and edges to prevent water entry, ensuring durability.
Remember to follow the manufacturer’s recommendations for compatible waterproofing treatments, and reapply every 2-3 months or after heavy exposure to wet conditions to maintain effectiveness.
Step 3: Apply A Second Coat (Optional)
Applying a second coat of waterproofing treatment can greatly boost the protection your hiking boots offer against water and moisture. This extra layer enhances the waterproof barrier, guaranteeing your gear stands up to wet conditions.
Here’s how to effectively apply a second coat:
- Confirm the first coat is completely dry for peak adhesion.
- Use the same application method—spray or wax—as the first coat.
- Focus on areas prone to wear, like seams and eyelets.
- Regularly reapply a second coat before extended wet hikes for maximum protection, keeping your feet dry and comfortable on the trails.
Step 4: Allow The Boots To Dry
After you’ve applied the waterproofing treatment, it’s crucial to allow your hiking boots ample time to dry properly.
Place your boots in a well-ventilated area, as this enhances the waterproofing solution’s effectiveness. Avoid direct sunlight or heat sources, which can damage materials and compromise integrity.
Ascertain the boots are completely dry before wearing them; any remaining moisture can lead to discomfort or health issues, like blisters or fungal infections.
Drying time varies based on conditions, typically taking several hours to a full day. For quicker drying, consider placing newspaper inside to absorb moisture, replacing it periodically until dry.
Tips For Waterproofing Hiking Boots
Once your hiking boots are dry, the next step involves taking proactive measures to guarantee their long-term waterproofing.
Follow these tips to effectively maintain your leather boots:
- Clean Your Boots: Remove dirt and debris before applying any waterproofing treatment.
- Choose Your Treatment: Use waterproofing sprays or wax, with wax offering more durable protection.
- Apply Evenly: Focus on seams and crevices where leaks are likely.
- Reapply Regularly: Every 2-3 months or after wet conditions, refresh your waterproofing to keep your boots protected.