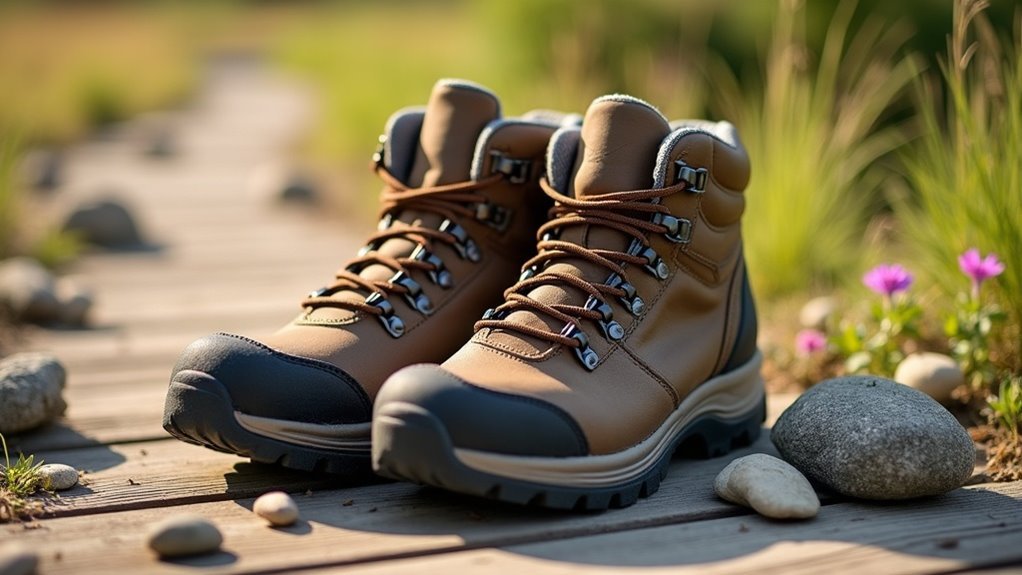
To break in your hiking boots without pain, wear them for 2-3 hours daily, gradually increasing the time with short walks. Choose moisture-wicking socks that fit snugly, and use boot-lacing techniques like the Surgeon’s Knot for added support. If you encounter tight spots, consider stretching techniques or professional help. Stay attentive to comfort as you wear your boots. With these tips, you’ll guarantee that your boots are ready for your next adventure, and there’s more to learn on optimizing the process.
Key Takeaways
- Gradually wear your boots for 2-3 hours daily, increasing time slowly to avoid discomfort.
- Choose moisture-wicking socks that fit snugly to minimize friction and prevent blisters.
- Use proper lacing techniques, like the Surgeon’s Knot, for added ankle support and comfort.
- Identify and address hot spots early by walking on easier trails before tackling longer hikes.
- Consider professional stretching or DIY methods to customize fit without causing pain.
The Importance of Breaking in Hiking Boots
When you hit the trail, the last thing you want is to deal with blisters and discomfort from your new hiking boots. Properly breaking in hiking boots is essential to prevent blisters and guarantee a comfortable experience.
Take the time to gradually break in your hiking boots, especially if they’re stiffer leather hiking boots. This process allows your feet to adjust to the boot structure, enhancing overall comfort during long hikes.
Ideally, start the break-in process 2-3 weeks before your hike to avoid foot fatigue. A well-broken-in boot can make all the difference in your hiking performance and enjoyment.
Initial Steps for Breaking in Your Boots
To guarantee your new hiking boots feel comfortable on the trail, it’s essential to start the break-in process at home.
Begin by wearing your boots for 2-3 hours to assess fit and comfort. Gradually increase the duration, opting for short walks or light chores, giving your feet plenty of time to adjust.
Start by wearing your new boots for 2-3 hours, gradually increasing usage with short walks to ensure a comfortable fit.
Avoid long hikes or strenuous activities until you’ve tested your boots on easier trails to identify any potential hot spots.
Always wear your hiking socks during this process to minimize chafing and consider proper lacing techniques like the surgeon’s knot for enhanced support while breaking in your boots.
Choosing the Right Socks for Comfort
Choosing the right socks can make all the difference in your hiking experience, especially when breaking in new boots.
Opt for moisture-wicking socks made from materials like merino wool to keep your feet dry and minimize the risk of blisters. Crew or higher cut socks provide extra coverage, preventing chafing around your ankles.
Make certain your socks fit snugly without excess material to eliminate discomfort and pressure points. For added cushioning and blister prevention, consider wearing liner socks beneath your hiking socks.
Consistency in sock thickness and style helps maintain comfort and guarantees a proper fit with your hiking boots.
Boot-Lacing Techniques for Optimal Fit
While it might seem like a simple task, mastering boot-lacing techniques can make a huge difference in how comfortable and supported your feet feel on the trail. Tailoring your lacing technique to your foot shape is essential for breaking in your hiking boots effectively.
| Technique | Benefits |
|---|---|
| Surgeon’s Knot | Provides extra ankle support |
| Window Lacing | Alleviates pressure on the top of foot |
| Criss-Cross | Guarantees a snug heel fit |
| Heel Lock | Prevents slippage and enhances stability |
Using these methods can help prevent blisters and improve your hiking experience!
Stretching Techniques for a Better Fit
When it comes to stretching your hiking boots for a better fit, you’ve got several effective techniques at your disposal.
From professional stretching services to DIY methods like using rolled-up socks, each option can help alleviate that tightness.
You can also apply gentle heat to specific areas, making the material more flexible and comfortable as you break them in.
Professional Boot Stretching Methods
If you find your hiking boots feeling a bit too snug, professional boot stretching offers a reliable solution to achieve a perfect fit.
This service uses specialized equipment to gently expand the material, providing a customized fit without damaging your boots. Boot specialists can target specific tight areas, helping to alleviate discomfort and enhance your hiking experience.
Many shoe repair shops or outdoor retailers offer this service for a nominal fee, often faster and more effective than DIY methods.
Heat application during the process softens the leather, allowing it to mold to your foot’s contours for ultimate comfort on the trail.
DIY Stretching Techniques
To guarantee your hiking boots feel comfortable on the trail, you can employ several effective DIY stretching techniques.
Try these methods to enhance your fit:
- Use a boot stretcher: This tool can expand tight areas without damaging the material.
- Stuff the boots: Fill them with thick socks or crumpled newspaper to target specific tight spots.
- Wear thick socks: Walk around your home in the boots with thick socks, allowing your feet to gradually stretch them.
Always monitor the fit after stretching to avoid discomfort or blisters during your hikes.
Happy trails!
Heat Application for Flexibility
Applying heat to your hiking boots can make a world of difference in achieving a comfortable fit. Use a hairdryer to gently warm specific areas of the leather, which helps break in the material and mold it to your foot’s unique shape.
While you heat the boots, wear them to allow the softened leather to conform perfectly, reducing the risk of painful blisters. Just be cautious not to overheat—keep the dryer at a safe distance and use moderate settings.
For an even better fit, consider pairing heat application with a boot stretcher for a customized, comfortable fit.
Monitoring Comfort During the Breaking-in Process
How can you guarantee your new hiking boots fit perfectly as you break them in? Monitoring your comfort is key.
Ensuring a perfect fit for your new hiking boots starts with careful comfort monitoring during the break-in process.
Here are three steps to ascertain a successful break-in:
- Gradually increase wear time—start with 2-3 hours at home, then progress to short walks.
- Keep a comfort journal—note any discomfort or hot spots to adjust lacing or sock choices.
- Choose the right socks—opt for moisture-wicking materials to reduce friction and enhance comfort.
Tips for Addressing Rubbing and Pinching Shoes
Even with careful monitoring of your comfort, you might still encounter rubbing and pinching in your new hiking boots.
To address these issues, wear thick, moisture-wicking socks to reduce friction and minimize sore feet. Utilize proper lacing techniques, like a surgeon’s knot, to alleviate pressure points. Consider insoles or cushioned inserts for added support.
Maintain a foot care routine by keeping your feet clean and moisturized, which prevents skin issues. For quick fixes, apply blister patches or athletic tape on troublesome areas.
With these tips, you can comfortably navigate breaking in a new pair of hiking boots and enjoy your adventures.