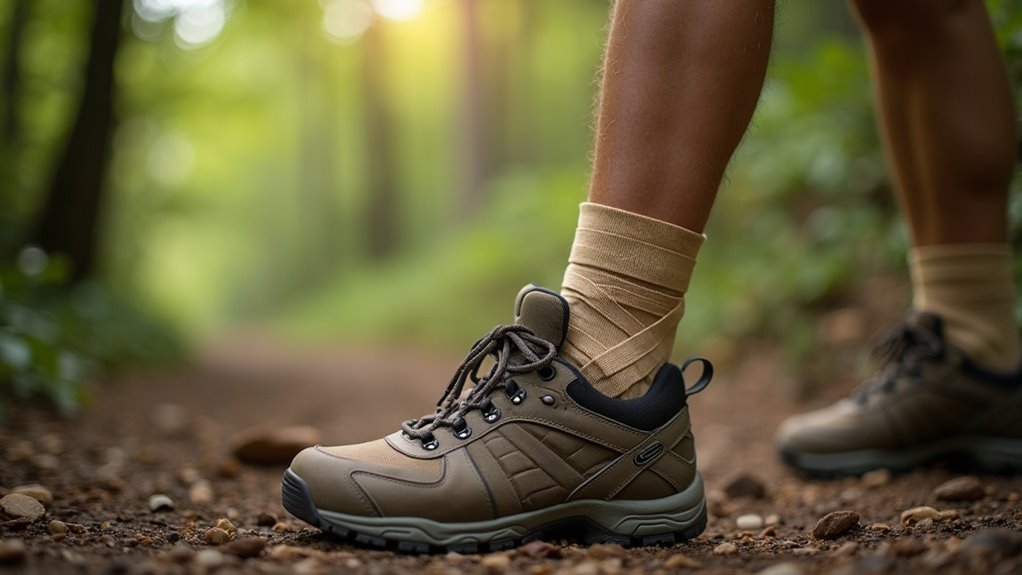
To tape your ankles for stability while hiking, start by organizing your materials like athletic tape and pre-wrap. Clean and dry your ankle skin thoroughly. Apply the pre-wrap from the foot arch to the calf, then anchor the tape around the lower calf. Create stirrup tapes under the heel, and use a figure-eight pattern around the ankle for support. Finish by checking for snugness and comfort. There’s more to learn about effective taping techniques.
Key Takeaways
- Clean and dry the ankle thoroughly before taping to ensure proper adhesion and comfort during hiking.
- Use non-adhesive pads to protect the skin on the front and back of the ankle from chafing.
- Start taping with an anchor strip around the lower calf and apply stirrup tapes for enhanced stability.
- Incorporate a figure-eight pattern around the ankle, crossing over for additional support and preventing rolling.
- Check for snug fit and comfort, adjusting as needed, and monitor the ankle for any signs of irritation while hiking.
Understanding Ankle Instability
Ankle instability is a common issue that often develops after repeated ankle sprains, which can stretch or tear ligaments, leading to prolonged healing times.
Approximately 30% of individuals who experience an ankle injury report persistent instability one year later.
You might notice symptoms like swelling, stiffness, and a feeling of insecurity during movement.
This instability can considerably affect both your athletic performance and daily activities, making it essential to address.
Effective management typically includes rehabilitation exercises, proper taping techniques, and sometimes consultation with a healthcare professional to guarantee you can return to your preferred activities safely and confidently.
Materials Needed for Taping
To effectively tape your ankles for hiking, you’ll need specific materials to guarantee stability and comfort.
Start with 1 1/2 inch athletic tape, along with non-adhesive pads, pre-wrap, and a spray adhesive.
These supplies will prepare your ankles for secure taping and help prevent irritation during your hike.
Essential Taping Supplies
When preparing to tape your ankles for hiking, having the right supplies is essential for effective support and comfort.
To guarantee a successful tape application, gather these key items:
- 1 1/2-inch athletic tape for proper support.
- Pre-wrap to protect your skin and create a comfortable base layer.
- Quick-drying spray adhesive to secure the pre-wrap in place.
Additionally, consider using two 2 x 2 non-adhesive pads to prevent blistering and chafing.
With these supplies, you’ll be well-equipped to provide stability and comfort for your hiking adventure, allowing you to focus on enjoying the great outdoors.
Pre-Taping Preparations
Before you begin taping, it’s crucial to have all your materials organized and ready. Gather 1 1/2 inch athletic tape, quick-drying tape adhesive, and pre-wrap to create a solid base.
You’ll also need non-adhesive pads (2 x 2 inches) to protect your skin from tape irritation, placing one pad over the front of the ankle and another at the back.
Apply spray adhesive to the pre-wrap, following the manufacturer’s instructions to enhance adhesion. Confirm everything is within reach to streamline your application process, allowing you to focus on providing the best support for your ankle while hiking.
Tape Application Techniques
Effective tape application techniques are essential for providing the necessary ankle support during hikes. To guarantee ideal stability, gather these materials:
- 1 1/2 inch athletic tape
- Pre-wrap and quick-drying tape adhesive
- Two non-adhesive pads
Start by placing non-adhesive pads on the front and back of your ankle.
Apply pre-wrap from the foot arch to the calf, securing it with adhesive.
Create anchors with athletic tape at both ends of the pre-wrap.
Then, wrap stirrup tapes under the heel to the opposite anchor and finish by applying figure 8 patterns of tape around the ankle for all-encompassing support.
Preparing the Ankle for Tape
Before taping your ankle, choose the right padding materials to protect against blisters and provide cushioning.
Secure the pre-wrap firmly around your foot and ankle, ensuring it covers from the arch to the calf for ideal tape adhesion.
This preparation is essential for maintaining support and stability during your hike.
Selecting Proper Padding Materials
Selecting the right padding materials is essential for preparing your ankle for tape during hiking.
Begin by positioning two 2 x 2 non-adhesive pads over the front and back of your ankle to prevent blistering. Then, cover the entire foot and ankle with pre-wrap, extending from the arch to the calf for a solid base.
- Use quick-drying tape adhesive for best adherence.
- Verify the two anchors of athletic tape are placed securely at both ends of the pre-wrap.
- Confirm the padding’s position for stability and comfort before taping.
This preparation helps you maintain support and prevent injuries on the trail.
Securing Pre-Wrap Effectively
To secure the pre-wrap effectively, start by ensuring that it covers the entire foot and ankle, extending from the arch up to the calf. Position two 2 x 2 non-adhesive pads—one on the front and one on the back of the ankle—to prevent blistering during tape application. Use a quick-drying tape adhesive according to the manufacturer’s instructions for ideal adhesion. Apply two anchors of 1 1/2 inch athletic tape at either end of the pre-wrap, maintaining consistent tension to enhance support.
| Step | Action | Purpose |
|---|---|---|
| 1. Position Pads | Place pads over front and back of ankle | Prevent blistering |
| 2. Apply Pre-Wrap | Cover foot and ankle | Smooth surface for tape |
| 3. Secure Anchors | Use athletic tape at ends | Maintain stability |
Anchoring the Tape
As you begin anchoring the tape, place two anchors of athletic tape at either end of the pre-wrap to assure stability and support.
Ascertain the anchors maintain tension in the tape to provide necessary support to your ankle during hikes. Position them correctly to align with your ankle’s contours, enhancing the effectiveness of your taping technique.
Ensure your tape anchors are tensioned and properly positioned for optimal ankle support during hikes.
- Use medium-width, waterproof athletic tape for durability.
- Apply anchors firmly to prevent slippage.
- Check that the anchors are securely attached for consistent support.
Following these steps will help you enjoy a more stable hiking experience while protecting your ankle.
Adding Stirrup Tapes for Support
After securing the anchors, it’s time to enhance your ankle’s stability with stirrup tapes.
Start by placing the first tape on the inside of your ankle, wrapping it under your heel, and securing it to the opposite anchor point.
Repeat this process for a total of three stirrup tapes to guarantee robust support, especially against inversion or eversion injuries.
Each stirrup should be applied with sufficient tension, offering stability while allowing natural ankle movement.
Properly applied stirrup tapes greatly reduce the risk of sprains, stabilizing ligaments and improving proprioception, which is crucial for maintaining balance on uneven hiking terrains.
Finalizing the Tape Application
Once you’ve established the stirrup tapes, focus on finalizing the tape application to secure maximum support for your ankle.
Create a figure 8 pattern with the tape around the ankle, starting on the inside. Wrap the tape around the lower leg, confirming it crosses over the ankle for stability.
Don’t forget to wrap under the arch of your foot to prevent rolling. Incorporate heel locks by alternating tape around the heel, reinforcing support.
Finally, close any open areas to achieve complete coverage.
- Confirm the tape is snug but not too tight.
- Check for any discomfort.
- Test your range of motion.
Tips for Effective Ankle Taping
To guarantee effective ankle taping, start by accurately identifying the source of any pain or discomfort in your ankle, as this will help determine if taping is suitable for your situation.
Use medium-width, waterproof athletic tape for durability during hikes. Begin with a circular anchor above the ankle bones, then create a stirrup strap under the foot to provide essential support.
Apply kinesiology tape in a figure 8 pattern around the ankle, ensuring it’s tight enough for stability while allowing mobility.
Finally, round the tape edges to prevent peeling and enhance comfort during extended wear.